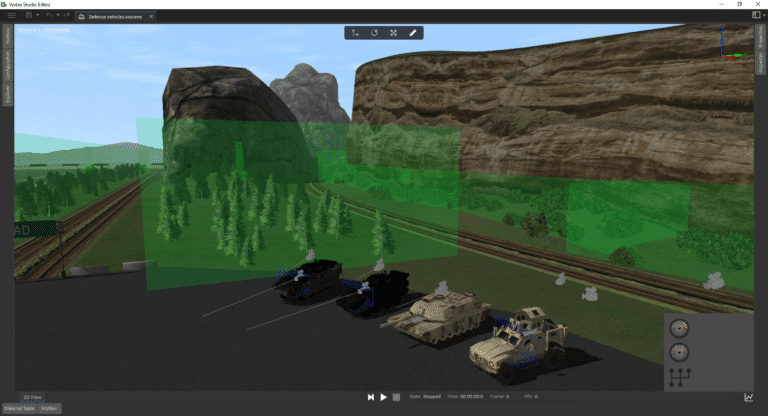
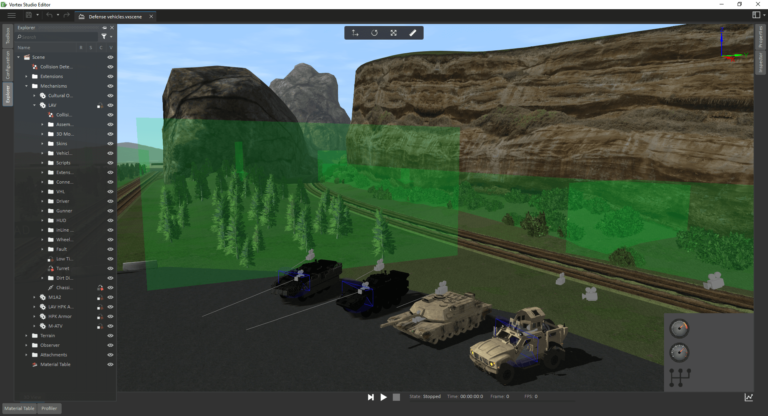
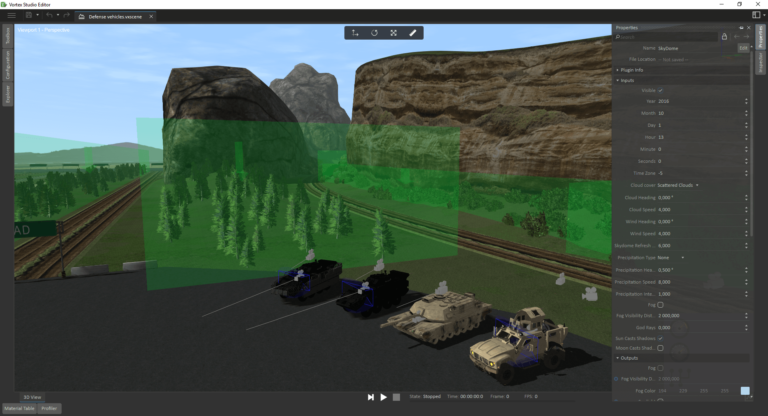
The revised interface introduced with the Vortex Studio 2017b launch earlier this year is intended to provide you with more workspace and easier access to the tools you need to create a simulation. A number of display controls are available in the upper right corner of each window when a file has the focus. The first one is the Display icon at the upper right of the main screen. This provides a menu with check boxes to select the panel(s) displayed on screen. By default, the Toolbox, the Explorer and the Properties panels are shown.
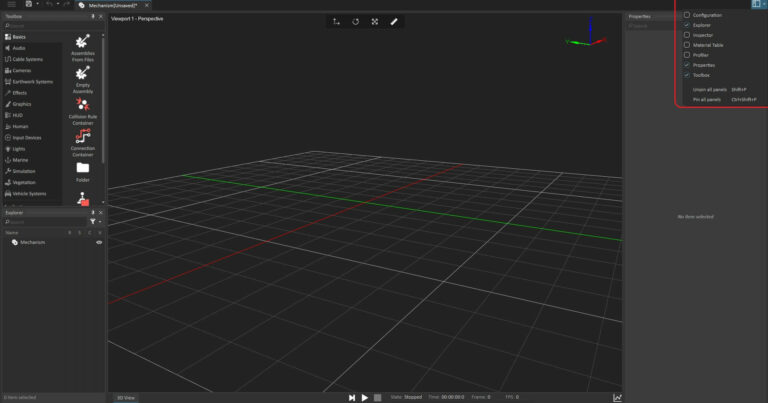
You can make them disappear either by using the “x” icon at the top of each panel, or by unchecking the panel’s name in the Display menu. Related to this is the Pin icon inside each panel: Click on this to move the panel to a tab at the edge of the main display, and out of the way. Simply hovering the cursor over the tab will bring the window back. You can dismiss it again by clicking on the main viewport. At any time, you can use the Pin icon to change this status. There’s also a “Pin/Unpin All” option in the Display icon.
(Click to expand)
(Click to expand)
(Click to expand)
By using the Lock icon inside each panel, you can “freeze” the content of a Properties panel and open more than one copy of that type — useful for many things, comparing Graphic Materials for example. Select the object in the Explorer, right-click on it, and scroll down to “Properties” to open it as a floating, locked panel. When panels are displayed on screen, they can be moved to any location desired, including a second screen if you have one. If you have a big enough screen, you can theoretically fit every panel on it, including more specialized ones such as the Material Table or the Profiler (see screenshot below). In practice it’s easier to just display the panels relevant to the current work, though.

The workspace will continue to evolve over time to better serve Vortex Studio users. At some point it might be possible to save layout preferences, or even create your own custom Toolboxes.
